Using Canva to custom-size your images
Adjusting your images to fit custom dimensions in WordPress can be frustrating, and sometimes time consuming without prior instructions. Luckily, Canva is a helpful tool that’s great for resizing your images for your WordPress site.
The first step is creating your free Canva account if you don’t already have one.
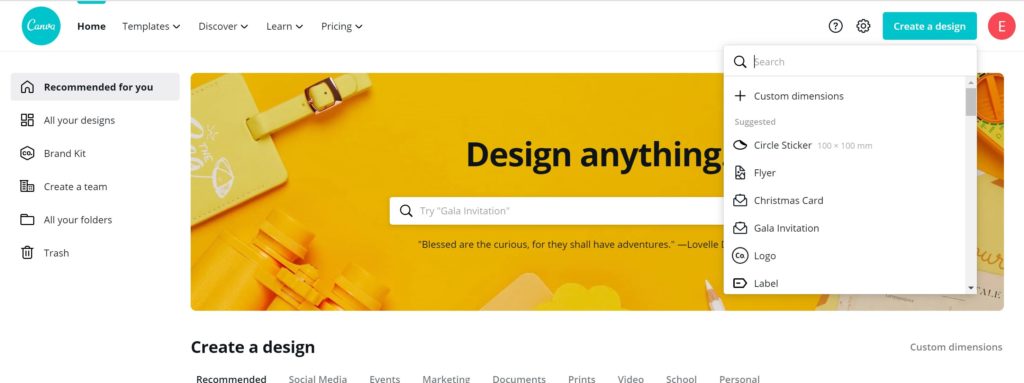
Next, in the top right corner of the screen, click on “Create a Design.”

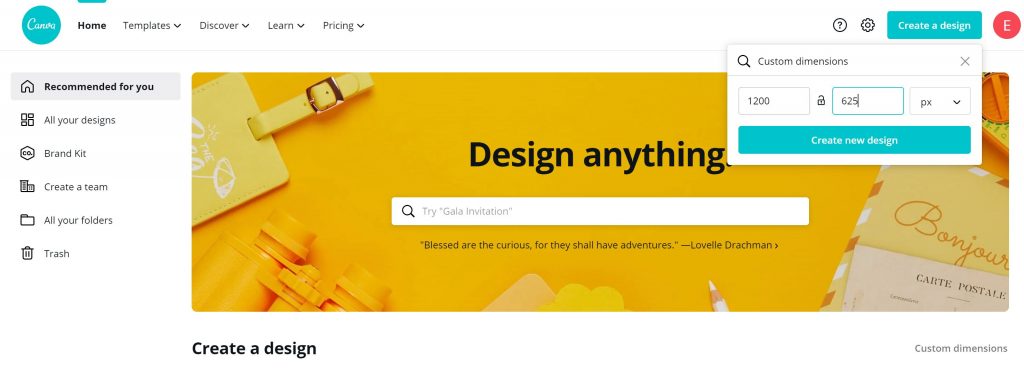
From here, a drop down menu will appear, where you can select the option “Custom Dimensions.” You can enter the exact dimensions you need, and Canva will then create a custom design board for your image.
Your website designer should be able to tell you what size your images should be for specific uses. For example, a banner/header image is usually at least 1200px wide, and may be around 500px tall to be above the fold. It is important to be sure you are using consistent image sizes.

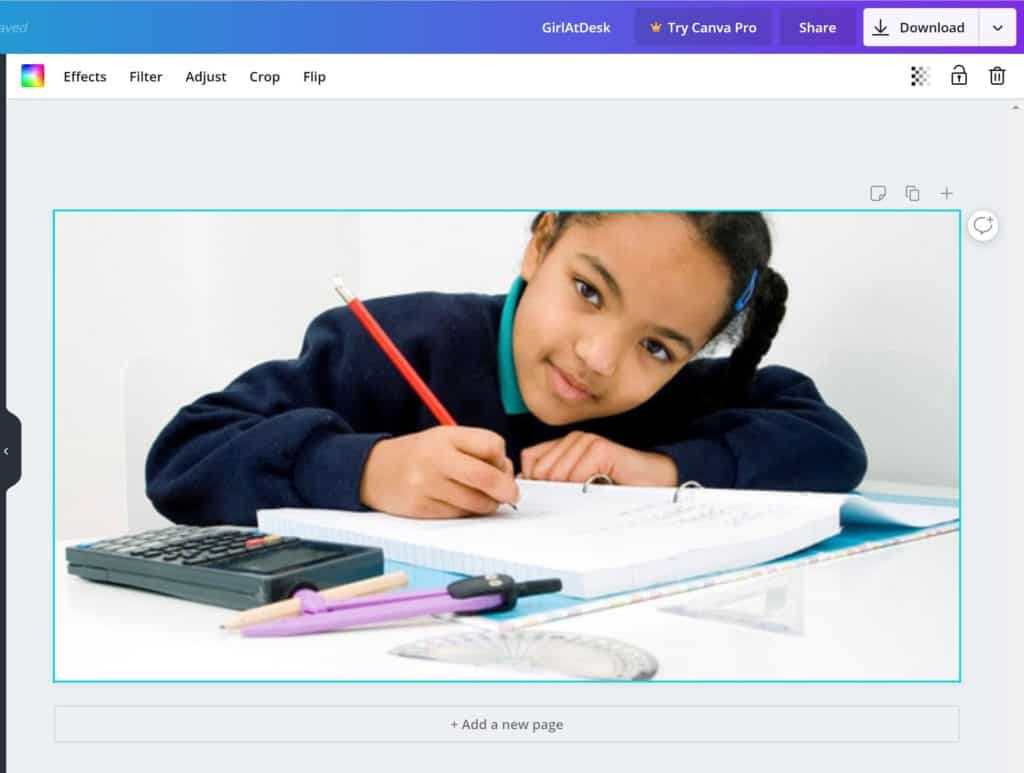
The next step is to choose an image from your uploads folder on the left, and place it into your custom dimension design board. Delete the default Canva background image and drag your image onto the screen.
Holding down the Shift key to keep the image from being skewed or distorted, drag from one of the corners to make the image smaller or larger to fit in your custom image size.
Watch this video to see this in action!

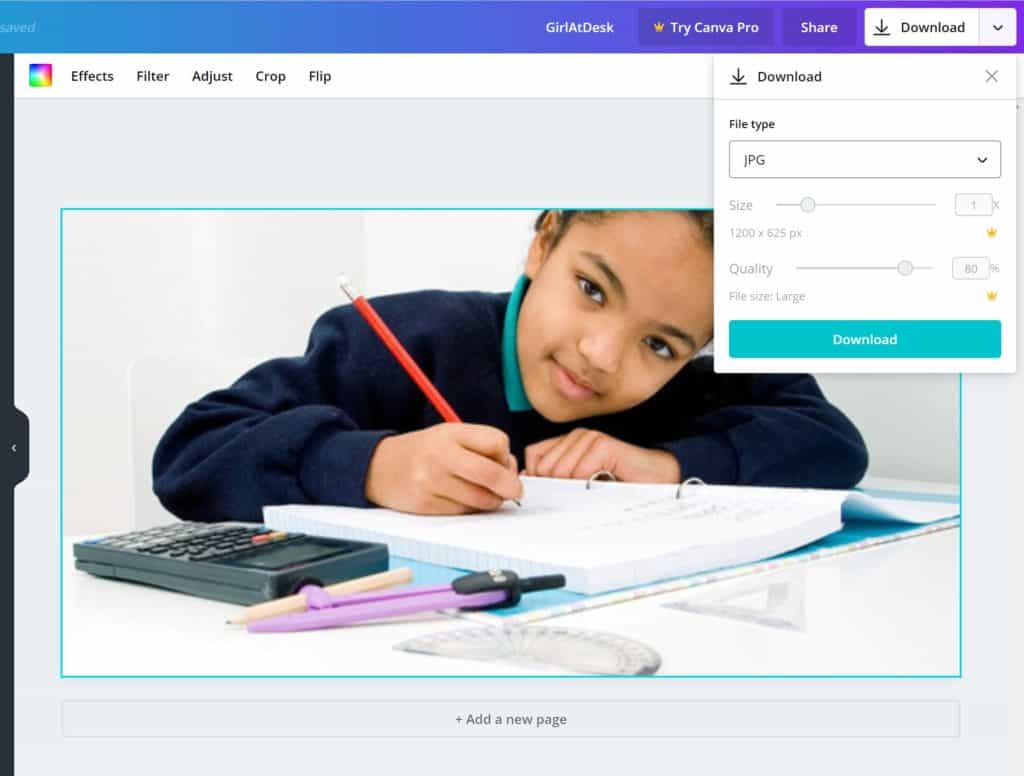
Next, rename the image in the bar at the top of the screen and download the image to your computer as a .jpg file if it is a photograph, or a png file if it contains text or a logo graphic so it is more crisp.

Finally, it’s time to upload your newly-sized image to your website. For more information on how to correctly add an image to your WordPress site, check out our blog post.