What is my Local Host File and How (and Why) Do I Edit It?
I am working on a big blog post about what I have learned over the past 3 weeks about website speed and performance. In the meantime, I wanted to share this quick tip. In my testing process I had a few versions of my site on different web hosts. I couldn’t make them all “live” on the same domain, and in one case didn’t want to put it on a temp/staging domain. In this case, it was still possible to see/edit this site by connecting to it via my local host file and the IP Address on the host server. The first time Site Ground told me to do this I thought, “Ack! That sounds complicated. I have to use the Command Line.”
But, once I read the instructions I realized it wasn’t that hard. Now there are a couple of Command Line commands I use all the time, and this is one of them (actually it is a set).
Pro Tip: If you use Text Expander, you can put these commands in a snippet and not even have to remember the details!
Edit Your Host File:
Log in to the web host account information or cpanel to determine the IP Address (“a unique string of numbers separated by periods that identifies each computer using the Internet Protocol to communicate over a network”) of your site (different hosts display this in different places, but it should be in the settings are of the site on your hosting account, not in WordPress). This is a code divided into sets of numbers like this 123.45.678.910
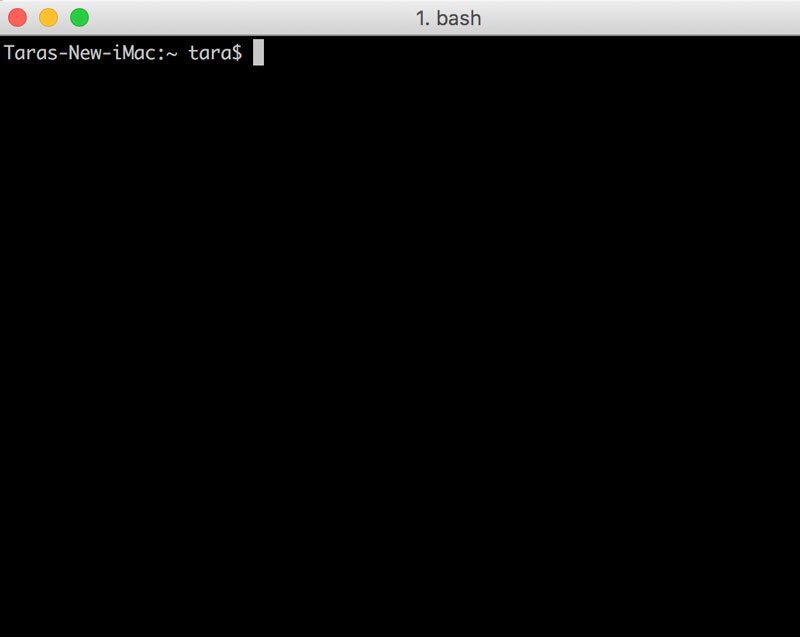
On your computer (sorry folks, this is just for Mac – if you want Windows instructions try this) … open the Terminal. Don’t know what this means? Go to Applications > Utilities >Terminal. A little black screen will pop up:
Where the cursor is waiting for you, type:
sudo nano /etc/hosts
and then hit return. It will probably ask for your password. This is the main password you use on your Mac to install software, etc.
This should open up a text editor in the program called Nano. It does not work with your mouse, so you need to use the down arrow on your keyboard to get to the very bottom of the window.
When you get there, grab the IP Address from your web host (copy it) and then paste it where the cursor is blinking in the Terminal. Hit the tab key and then type the domain you are wanting to relate to that IP address, for example, www.mysite.com or mysite.com
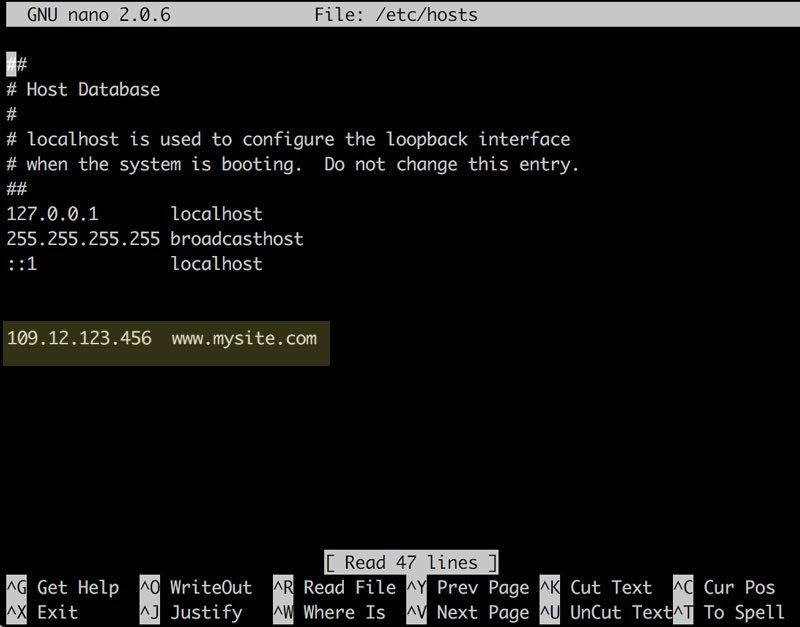
Hit the Control Key and X at the same time. You will see a message confirming you want to save your changes. To save, hit the Y button (Or you can hit Control O and then Control X) and then hit Return/Enter.
After there is one last step – a final command in the Terminal:
type
sudo killall -HUP mDNSResponder
then hit return
That flushes your DNS cache in your computer in case it is holding on to whatever it connected to last with www.mysite.com
Now, when you go to www.mysite.com, you will be seeing the site on the “test” server … not what everyone else sees when they go to www.mysite.com
After you have done what you need to do, go back to the beginning of this process and undo what you did, using the Terminal to access the local host files, hit your down arrow to get to the IP address and domain you added and backspace to delete this line. Exit/Save and then Clear the Cache.
Option:
Another code I use even when I am not working with local host files is the DNS flush terminal command. Sometimes when I have moved a site or some updates are not showing, I realize my Mac may be holding on to a cache of a prior version of the site. When clearing the web server doesn’t work, it’s easy to give this a try, and you get a groovy voice to talk to you at the end:
In your Terminal type this:
sudo dscacheutil -flushcache;sudo killall -HUP mDNSResponder;say cache flushed
hit return
enter your password
That’s it!
I hope this helps and simplifies working with your local host file and clearing your Mac DNS cache.