How to Use the Chrome Inspector to Edit Your Website CSS
 My life as a web designer was changed once I figured out that I can use the Chrome Developer Tools Inspector to play with the CSS on my websites. There are many uses for these great tools, but here I am focusing on using it for CSS specifically.
I did my first ever screencast to easily show you how I use the inspector every day to try out design tweaks before committing them to my custom themes. Even if you are not using a custom theme, you can follow these steps and paste your edited CSS into the Custom CSS tab in the Theme Customizer (if your theme offers this or you are using Jetpack).
To access the DevTools, open a web page or web app in Google Chrome. Either:
- Select the Chrome menu
 at the top-right of your browser window, then select Tools > Developer Tools.
 - Right-click on any page element and select Inspect Element.
You can use the Elements panel for a variety of tasks:
- Inspect the HTML & CSS of a web page.
- Test different layouts.
- Live-edit CSS.
You can view and modify the CSS for any element on the current page. It helps to have an understanding of how CSS (Cascading Style Sheets) work in order to work with the inspector, and understanding the hierarchy of elements will save you a lot of wasted time trying to change a style for an element that is then overwritten farther down the cascade.
Edit and create styles
You can add or edit styles within the Styles pane in the Elements panel. Unless the area containing the styling information is greyed out (as is the case with user agent stylesheets), all styles are editable. Edit styles in the following ways:
- Edit an existing property name or value.
- Add a new property declaration.
- Add a new CSS rule.
To enable or disable a style declaration, check or uncheck the checkbox next to it.
Edit an existing property name or value
Click an element in the page or the html element for the corresponding CSS:


Click on a property value to edit the value. If you’re editing a property name, press Tab or Enter to edit the property value.
By default, your CSS modifications are not permanent, changes are lost when you reload the page. My preferred method is to copy my edited styles into my text editor and then add then selectively to my theme’s style.css file. Chrome also offers Workspaces, which automates some of that process. I haven’t tried it yet, as I am usually making minor and specific changes/tweaks which are easy to copy into my theme.
Add a rule
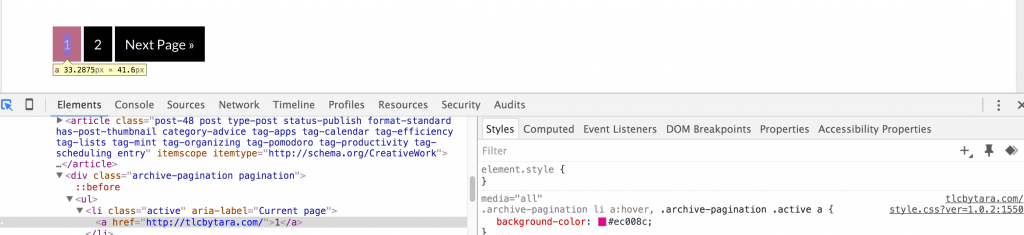
If you are having trouble identifying the selector for an element, you can try using the New Style Rule (+) button at the top of the Style tab/pane. If you have clicked on the element on the website that you want to edit and then click the “+” button, sometimes it will pull in the nested styles so you don’t have to search for it. I find this does not always work. .
Note: When you create a new rule using New Style Rule, the new rule doesn’t belong to an existing stylesheet. DevTools adds it to a special inspector stylesheet. The inspector stylesheet can be edited in the Sources panel, like other files.
This is a very basic, first step for using the inspector. You don’t have to have your own website to do this! You can play with any website … it’s a great way to expand your knowledge and familiarity with CSS. Here’s an example changing the color of the button on the Google search page.