Get over your fear! SVGs are not SCARY Vector Graphics

If you’re like me, there is never enough time to learn ALL the things you want to. I keep hearing about how amazing SVGs are, but have been scared to learn how to create them and work with them. Even more intimidating…. Adding animation!
Why SVG?
You might first wonder why you should use an svg image. We are getting into the habit of creating 2X size images that will look good on a retina display – isn’t that enough?
“SVG” stands for “Scalable Vector Graphic,” an image format that allows an image to scale to almost any size without losing quality (and looks even better on retina displays). It is also a format that is a small file size and compresses well. How much smaller are the files, you might ask? Well, the “SCARY” image above as a png file is 16KB … as an SVG it is only 1KB! And, it allows more design control without having to edit the image itself.
I read some great instructions from Jackie D’Elia on using svg’s, but I was missing the all important … “how do I even get an svg to being with?!” step. Jackie’s post, while specific to one particular theme, was also specific to logo usage. She has another great post on animating svg’s which intimidated me because I was stuck on just getting an svg file to begin with!
I finally set upon creating and working with svg’s and to my surprise, it wasn’t that hard. The keys to my understanding and accomplishment in using these graphics were
- Adobe Illustrator
- CodePen
 Adobe Illustrator
 Adobe Illustrator
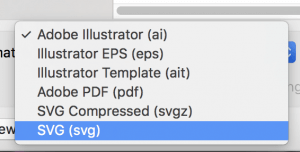
To create and image and convert it to svg format, you simply create your vector image as you would for any other purpose – most often for the web we create a nice vector image and save it as a png file using Adobe Illustrator. After you have created your image, select “File>Save As” and chose “svg” from the dropdown. Easy!
[Tweet “After you have created your image, select “File>Save As” and chose “svg” from the dropdown. Easy!”]
For my first experiment, I took the .svg file and opened it in my code editor, Sublime Text. There is also an option in Illustrator when you save the svg file, to view the code. However I like to open it in Sublime Text because it is easier for me to inspect it there. I could take a look at it, but it didn’t make much sense to me at first. I selected all the code and copied it to my clipboard.
CodePen
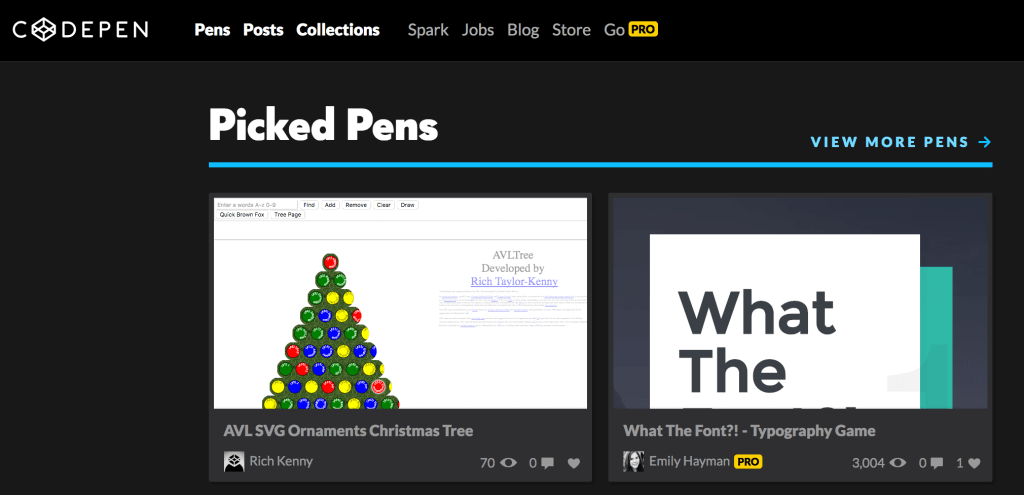
The next, final step for me was going to codepen.io. CodePen is an amazing tool for researching, learning and testing new things. It can serve as a showcase for cool stuff, but I also like to use it to try out code I am not sure of to see how it works quickly.
The CodePen window has three columns for code: html, css and js. Underneath these three columns is a live preview area.
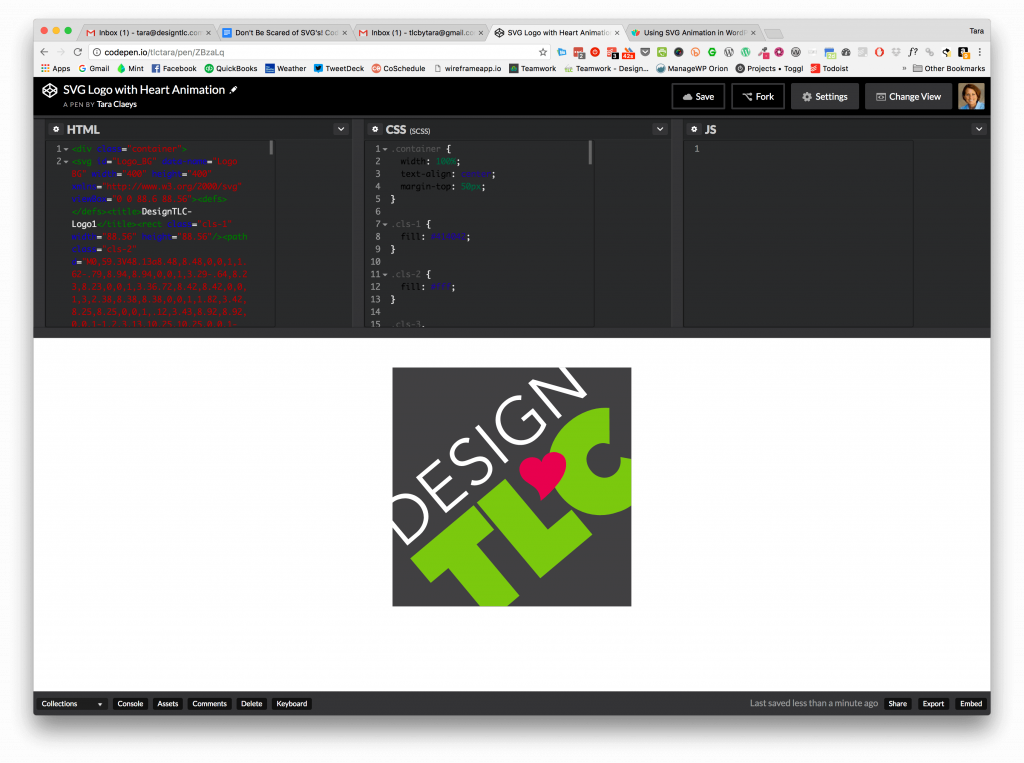 I pasted the code for the .svg file from Sublime Text into CodePen, in the html column. VOILA! My logo appeared in the preview area! Now that it was there and I knew it was working, I could use CodePen to play with the image using code. Looking at the code in the html area, I could see paths and colors. If I wanted to change the lettering to a different color, I could simply change it in the code and it would change in the preview window. You can see that the actual colors in the logo I used on my website homepage are different from the file in CodePen – I accomplished this without editing anything in Illustrator, but merely by playing with the code in CodePen.
Optimize
CSS Tricks suggests some more detailed steps for using SVG’s (including browser support issues), and also suggest optimizing these files before putting them on your website. It mentions this tool, which looks easy to use. I tried it on my logo file, however, and it messed it up, so be careful when using it and make sure you have a backup of your original file.
Add Animation
After getting a bit comfortable with the html code, I could add some CSS to the file to change it. I put the entire svg code in a div and specified its size. And, I added some css animation. I decided I wanted to make an outline on the heart in my logo which would “draw” as it first appeared. I researched the code to use for this drawing effect and added it to the css, after applying a class to the path I identified as being the outline of the heart. I fiddled with the timing in the css and the iteration number, but the whole process took less than a half hour to figure out.
Here is my animated logo in CodePen:
When you have made it this far, there are a few ways to work with your new svg file in your WordPress website. You can use this file as an image file easily, and have it work like any other image file, with this plugin.* The “SCARY” image at the top of this post is a simple svg added using this plugin (I have discovered, however, that the Google font is not working properly … I have tried several ways to load this font but it is not working yet). I have also used svg’s with Beaver Builder, adding the html to a text module and putting the CSS in the custom CSS for the page, which is how it is working on the home page of my website. For more advanced developers, you can edit your theme file to allow your theme to use svg format images.
How have you learned to use svgs?
*Note that since an svg is code, it can come with security issues if the source of the code is not known. Therefore, use with caution. You can prevent non-admins from adding svg’s to the website to limit the security issues.